
How to Grow Autoflowers in Soil: A Practical Guide for Better Yields
Learning how to grow autoflowers in soil is one of the simplest and most forgiving ways to cultivate cannabis at home. Soil buffers mistakes, supports healthy roots, and lets the plant express full aroma and flavor. This guide walks you through each step, from choosing soil to harvest, so you can get reliable, resinous buds from your autoflowering plants.
Why Grow Autoflowers in Soil?
Autoflowers are fast, compact, and do not rely on light cycle changes to start flowering. Combined with soil, they become ideal for beginners and busy growers.
- Forgiving medium: Quality soil holds water and nutrients, protecting roots from sudden changes.
- Better flavor and aroma: Living soil and organic amendments can enhance terpene production.
- Low maintenance: Less frequent watering and feeding than hydroponics.
- Stealth friendly: Smaller plants fit well in tents, closets, and balconies.
Choosing the Right Soil for Autoflowers
The foundation of success when learning how to grow autoflowers in soil is choosing a suitable mix. Autoflowers have a short life cycle, so they dislike heavy or overly hot (strongly fertilized) soils.
- Light and airy texture: Look for a potting mix with perlite, coco, or peat to promote drainage and oxygen to the roots.
- Moderate nutrients: A lightly pre-fertilized soil is best. Avoid strong, slow-release synthetic fertilizers that can burn young plants.
- pH range: Aim for a soil pH between 6.0 and 7.0 for optimal nutrient uptake.
- Organic options: Blends containing compost, worm castings, and humus support beneficial microbes and healthier growth.
Containers and Transplanting Strategy
Autoflowers grow quickly and do not like root stress. Minimize transplanting to protect yields.
- Final pot size: Use 7 to 11 liter (2 to 3 gallon) pots for indoor plants; 11 to 19 liter (3 to 5 gallon) outdoors.
- Start in the final pot: Whenever possible, sow seeds directly into the final container to avoid transplant shock.
- Fabric pots: Air-pruning containers improve root branching and drainage, reducing the risk of overwatering.
How to Grow Autoflowers in Soil: Germination and Early Growth
Healthy seedlings set the tone for the entire grow.
Germinating Seeds
- Use fresh, high-quality autoflowering seeds from a reputable breeder.
- Germinate using a moist paper towel, starter plug, or directly in lightly watered soil.
- Maintain a temperature of 22 to 26 degrees Celsius and gentle, indirect light.
Seedling Care
- Keep soil slightly moist, never soaked. Overwatering is the most common mistake.
- Provide gentle airflow to strengthen stems and prevent mold.
- Avoid feeding nutrients during the first 1 to 2 weeks if your soil is pre-fertilized.
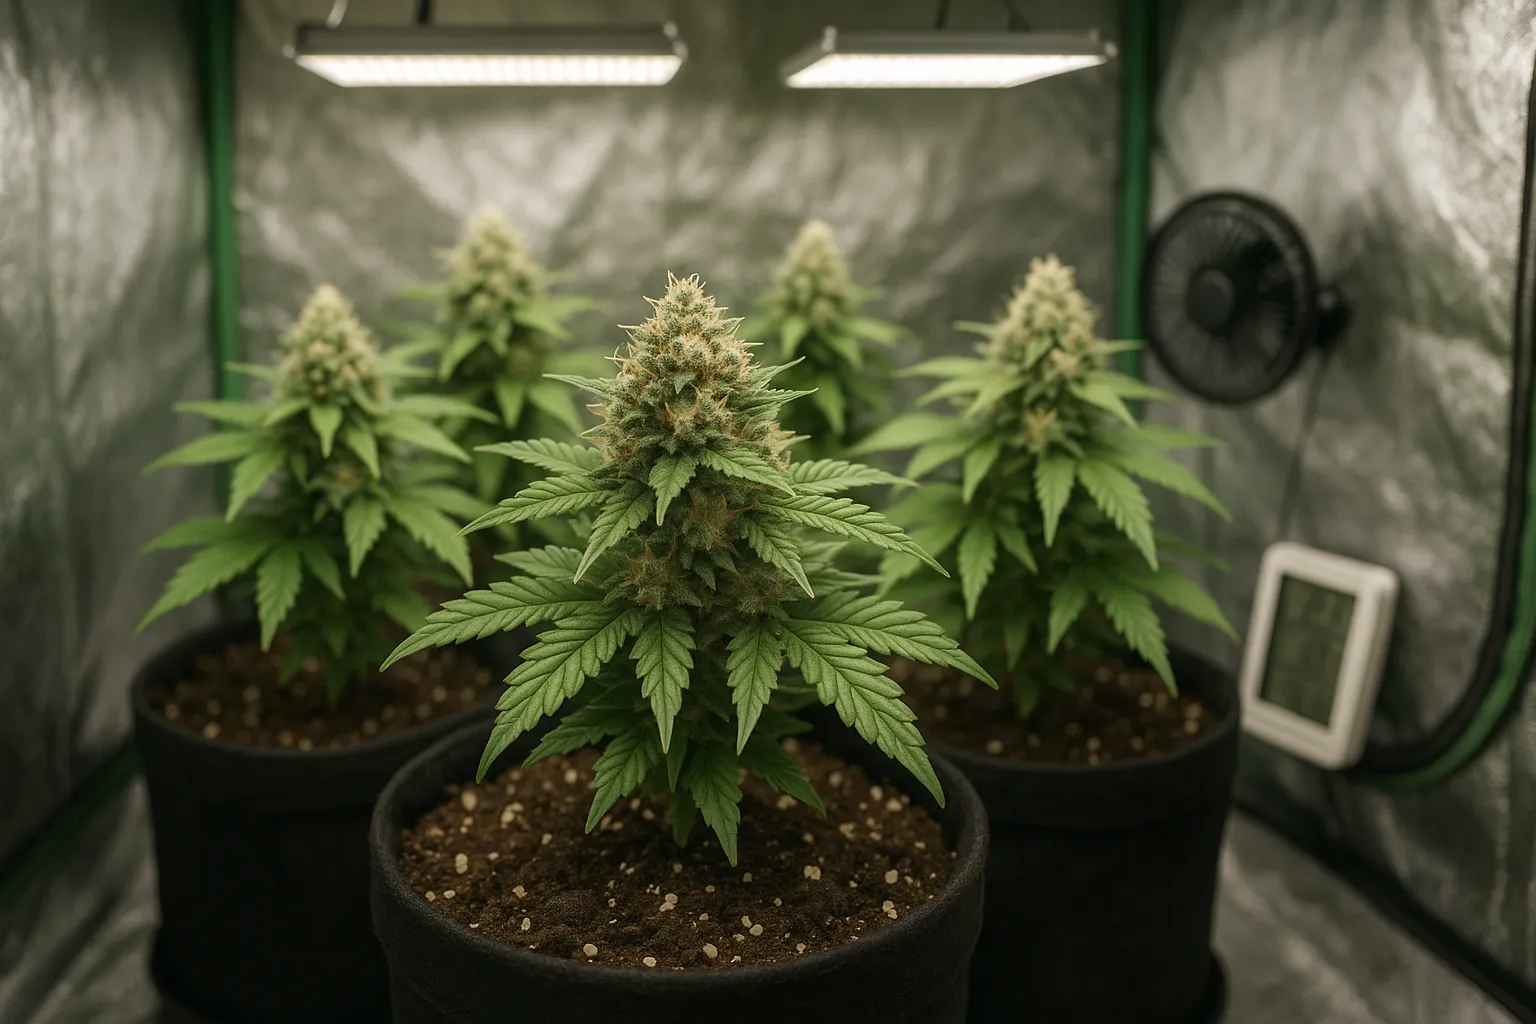
Lighting, Temperature, and Environment
Autoflowers do not depend on a strict light schedule, but good lighting strongly influences yield and potency.
- Light cycle: 18 hours of light and 6 hours of darkness is a popular schedule. Some growers use 20/4 for maximum growth.
- Light intensity: Use LED or HID grow lights positioned according to manufacturer recommendations to avoid light burn.
- Temperature: Keep daytime temperatures around 22 to 27 degrees Celsius and slightly cooler at night.
- Humidity: Aim for 60 to 70 percent in seedling stage, 50 to 60 percent in vegetative growth, and 40 to 50 percent in flowering.
Watering and Feeding Autoflowers in Soil
Balanced watering and nutrition are key to strong, healthy plants.
Watering Practices
- Water when the top 2 to 3 centimeters of soil feel dry to the touch.
- Water slowly until 10 to 20 percent runoff appears from the bottom of the pot.
- Ensure good drainage and avoid letting pots sit in standing water.
Nutrients and Supplements
- Vegetative stage: Use a mild, balanced fertilizer with slightly higher nitrogen.
- Flowering stage: Switch to a bloom formula with more phosphorus and potassium and reduced nitrogen.
- Start low: Begin at 25 to 50 percent of the recommended dose and increase only if plants show deficiency.
- Microbes and enzymes: Beneficial bacteria, mycorrhizae, and enzyme products can enhance root health and nutrient uptake.
Training and Plant Management
Because autoflowers have a fixed life span, heavy stress can reduce yields. Gentle training works best.
- Low stress training (LST): Carefully bend and tie branches to open the canopy and expose more bud sites to light.
- Avoid topping late: If you top, do it very early and only on vigorous plants; many growers skip topping altogether for autos.
- Defoliation: Remove only a few large leaves that block light or restrict airflow, and never strip the plant.
Flowering, Harvest, and Curing
Most autoflowers finish in 8 to 12 weeks from seed, depending on strain and environment.
- Flowering nutrition: Maintain bloom nutrients and consider a light flush with plain water in the final 1 to 2 weeks.
- Checking trichomes: Use a loupe to inspect resin glands. Cloudy trichomes with some amber usually indicate peak potency.
- Drying: Hang branches in a dark, ventilated space at 18 to 22 degrees Celsius and 50 to 60 percent humidity for 7 to 14 days.
- Curing: Place dried buds in glass jars, burping daily for the first 1 to 2 weeks, then less often for 3 to 4 weeks or longer.
Conclusion
Understanding how to grow autoflowers in soil comes down to simple, consistent care: start with a light, well-draining medium, avoid overfeeding, and give plants plenty of light and fresh air. With minimal stress and a steady environment, autoflowering cannabis can reward you with fast, flavorful harvests in a remarkably short time.
